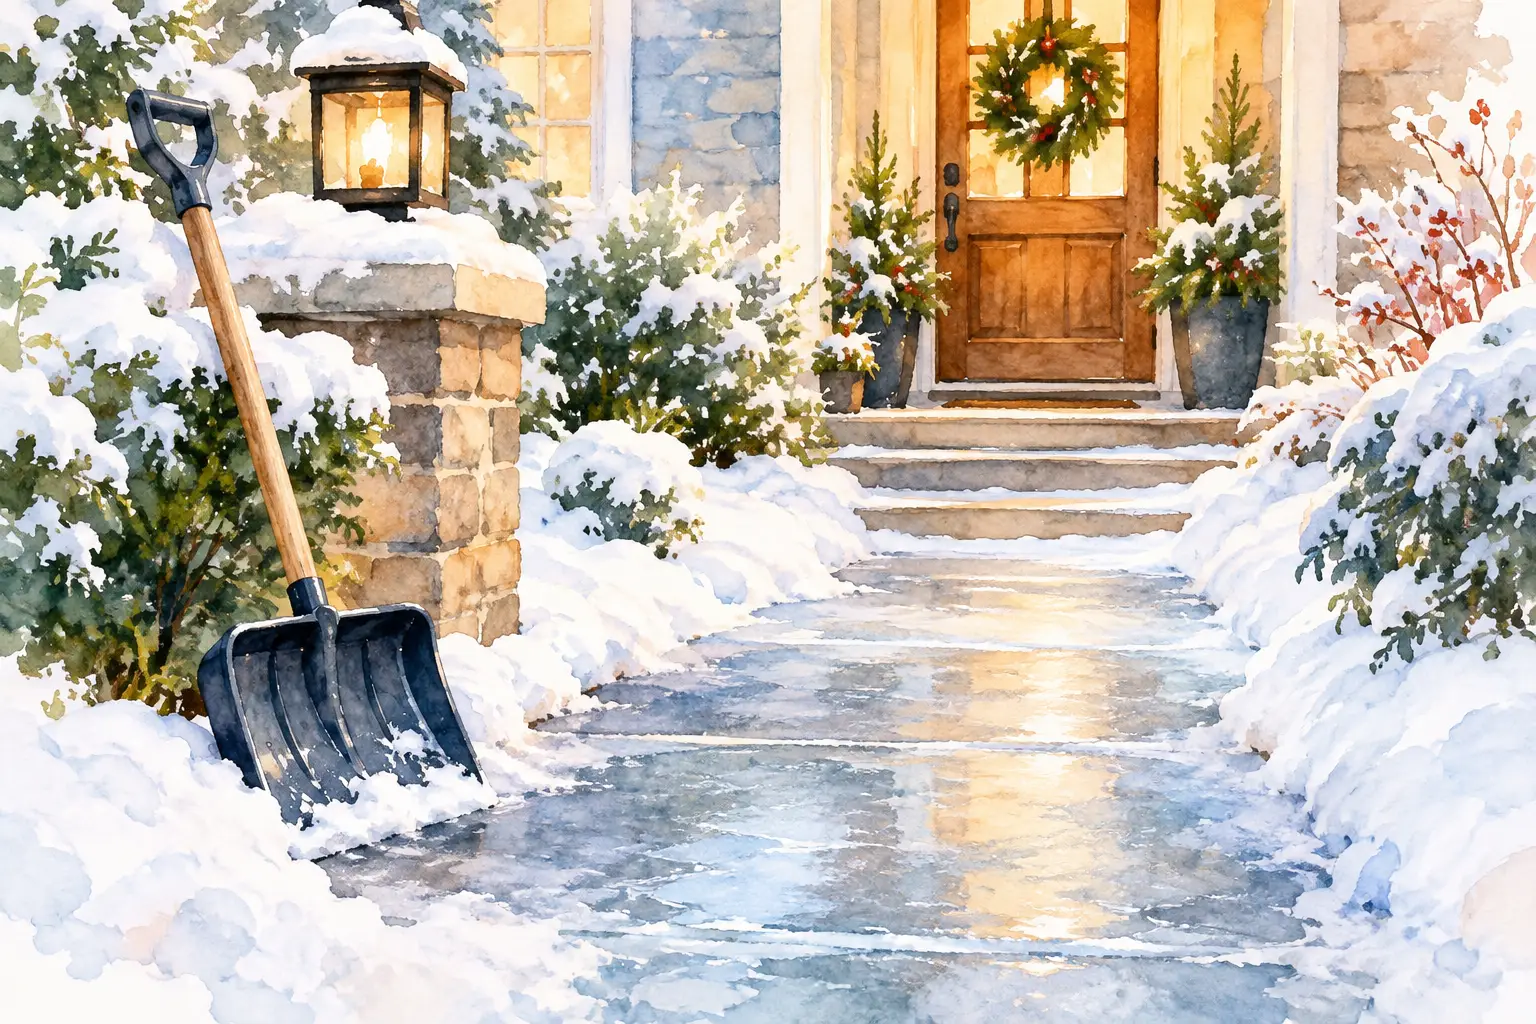
A front walk can look clear at 7 a.m. and turn slick before lunch. In the Mid-Ohio Valley, a little melting snow, freezing rain, and a sharp temperature drop are all it takes. To prevent icy walkway hazards, treat snow and ice removal as a routine home task, not something to put off until the driveway becomes hard to cross.
That matters for more than convenience. A safe path helps children get to the bus, lets delivery drivers reach the door, gives pets a steadier route outside, and makes it easier for older neighbors, visitors, and family members to move around with confidence. A few practical habits can make a real difference.
Start Before the Snow Falls
The easiest ice to manage is the ice that never gets a chance to bond to the concrete. Before a storm, move planters, hoses, toys, and other items that make shoveling awkward. Clear leaves and mud from sidewalks and steps, too. Debris can trap water and create uneven, slippery spots under a light layer of snow.
Pay attention to drainage around your home. Downspouts that empty onto a sidewalk or front steps can create a fresh sheet of ice long after the rest of the path has been cleared. If possible, add an extension that directs runoff away from walking areas. A small adjustment now can prevent a daily problem all winter.
It also helps to keep your winter supplies together where you can reach them easily. A sturdy shovel, ice scraper, traction material, gloves, and the right de-icer should not be buried behind summer tools in the garage. When the forecast changes quickly, having everything ready means you can act before the ice sets.
Clear Snow Early and All the Way Down
Shoveling soon after snowfall is usually less work than waiting. Fresh snow is lighter, easier to lift, and less likely to pack down under boots, tires, or paw prints. Once snow gets compressed, it can refreeze into a stubborn layer that needs chipping and extra de-icer.
Focus on the routes people actually use: the front walk, porch steps, driveway path, mailbox area, garage entry, and the route to trash bins. Clear the walkway wide enough for two feet side by side, not just a narrow strip down the middle. A wider path gives people room to avoid a slick patch and carry groceries or packages safely.
When you shovel, push snow to a place where it will not melt back across the walkway. Piling it at the bottom of steps or along the edge of a path may seem convenient, but daytime thawing can run right back onto the surface overnight. Keep snow piles away from drains when you can so melting water has somewhere to go.
There is a trade-off here. Scraping aggressively with a metal shovel may remove more packed snow, but it can also damage some decorative concrete, pavers, and wood steps. A plastic-edged shovel or a scraper used carefully may be the better choice for surfaces that chip easily.
Use De-Icer Wisely to Prevent Icy Walkway Hazards
De-icer works best when it is applied with a purpose, not scattered by the handful after the walkway is already glazed over. Follow the package directions. More product does not always melt ice faster, and excess material can be tracked indoors, harm nearby grass, or leave residue on concrete.
Rock salt is common and affordable, but it is most effective in moderately cold temperatures. When the temperature falls well below freezing, it may not work as expected. Calcium chloride and magnesium chloride can work at lower temperatures, though they often cost more. If you have pets, check labels for pet-friendlier options, but remember that no ice melt is automatically harmless if a pet eats it or walks through it repeatedly. Wipe paws after walks and store all products securely.
For light slickness, traction can be as useful as melting power. Sand, non-clumping kitty litter, or a commercial traction product can give shoes and tires more grip when temperatures are too low for salt to do much. These materials do not remove ice, so they should be swept up after conditions improve. Leaving grit on a walkway can create its own mess and send material into drains.
Apply de-icer before freezing rain when conditions allow, then check the area again after precipitation stops. Pre-treatment can make the final cleanup much easier, but it is not a substitute for shoveling. Heavy snow will still need to be removed so the product can reach the ice below.
Watch the Trouble Spots Around Your Home
Some areas freeze sooner than others. North-facing sidewalks get less sunlight. Shaded steps may stay icy even when the driveway looks wet. Bridges, ramps, and wooden decks can freeze quickly because cold air reaches them from more than one side.
Take a short walk around your property after a thaw, especially near dawn and after sunset. Look for shine, puddles, runoff, and black ice. Black ice can be nearly invisible, particularly on dark pavement, so assume a wet-looking spot may be slippery when the temperature is near or below 32 degrees.
Lighting deserves attention as well. A porch light, motion light, or clear path light makes hazards easier to spot before someone steps into them. Replace burned-out bulbs and trim branches that block existing lights. Good lighting will not melt ice, but it helps people make safer choices.
If your home has handrails, check that they are secure before winter. Handrails are especially valuable on steps, sloped walks, and entryways used by anyone with limited mobility. Temporary traction strips or outdoor mats can help on certain surfaces, but use products designed for winter weather and make sure their edges lie flat. A curled mat can be a trip hazard of its own.
Build a Simple Winter Routine
Winter safety is easier when it has a schedule. Check the forecast in the evening, then take another look at paths early in the morning. After a freeze-thaw day, inspect walkways again before dark. This is often when melting snow turns back into ice.
A reliable routine can be as simple as this: clear fresh snow, scrape packed areas, apply the appropriate de-icer or traction material, and return later to check for refreezing. If you rent, clarify who is responsible for shared sidewalks, entrances, and parking areas. Do not assume someone else has handled it when family, guests, or customers may be using the property.
Be realistic about your own limits. Wet snow is heavy, and repeated lifting can strain your back, shoulders, or heart. Push snow when possible, take smaller loads, and take breaks. For many residents, the safest choice is asking for help, especially after a heavy storm or when ice has built up over several days.
Get Local Help When Conditions Are Too Much
Snow removal and salting are practical jobs to hand off when you are short on time, away from home, recovering from an injury, or simply not equipped for the weather. Clear communication makes the result better. Share which entrances need attention, whether pets use the area, where ice tends to form, and whether you prefer a particular type of de-icer.
With Lawns, residents can post a local snow removal or salting job, describe the area that needs cleared, set their preferred timing and price, and connect directly with nearby workers. It is a straightforward way to get help while keeping work and spending close to home.
A Quick Check Before Anyone Arrives
Before guests, a caregiver, a delivery, or a family member comes by, take one last look outside. Check steps, handrails, the path from parking to the door, and any spot where a downspout or roof runoff crosses the route. If conditions have changed, clear and treat the path again.
A safe walkway is one of those quiet acts of care that neighbors notice only when it is missing. Keeping a shovel handy, checking for refreeze, and calling on local help when needed can make winter feel a little more manageable for everyone who comes to your door.

